The Blog
How to photograph your Christmas Tree
Getting majestic looking photos of your Christmas Tree may be much easier than you think. If you want to learn how to photograph your Christmas tree, then this one is for you! Dust off that old camera and bust out the tripod too because you will need it. If you don’t have one, find a vantage point for your camera where you can sit it down on something where it wont move for the 15 or so seconds that you will expose for. A tripod is really useful because it’s nearly impossible to achieve good results by holding it because the slightest move you make will blur your photo. Having a remote trigger wouldn’t hurt either because touching the shutter button can sometimes cause camera shake and lead to blur.
How to photograph your Christmas tree
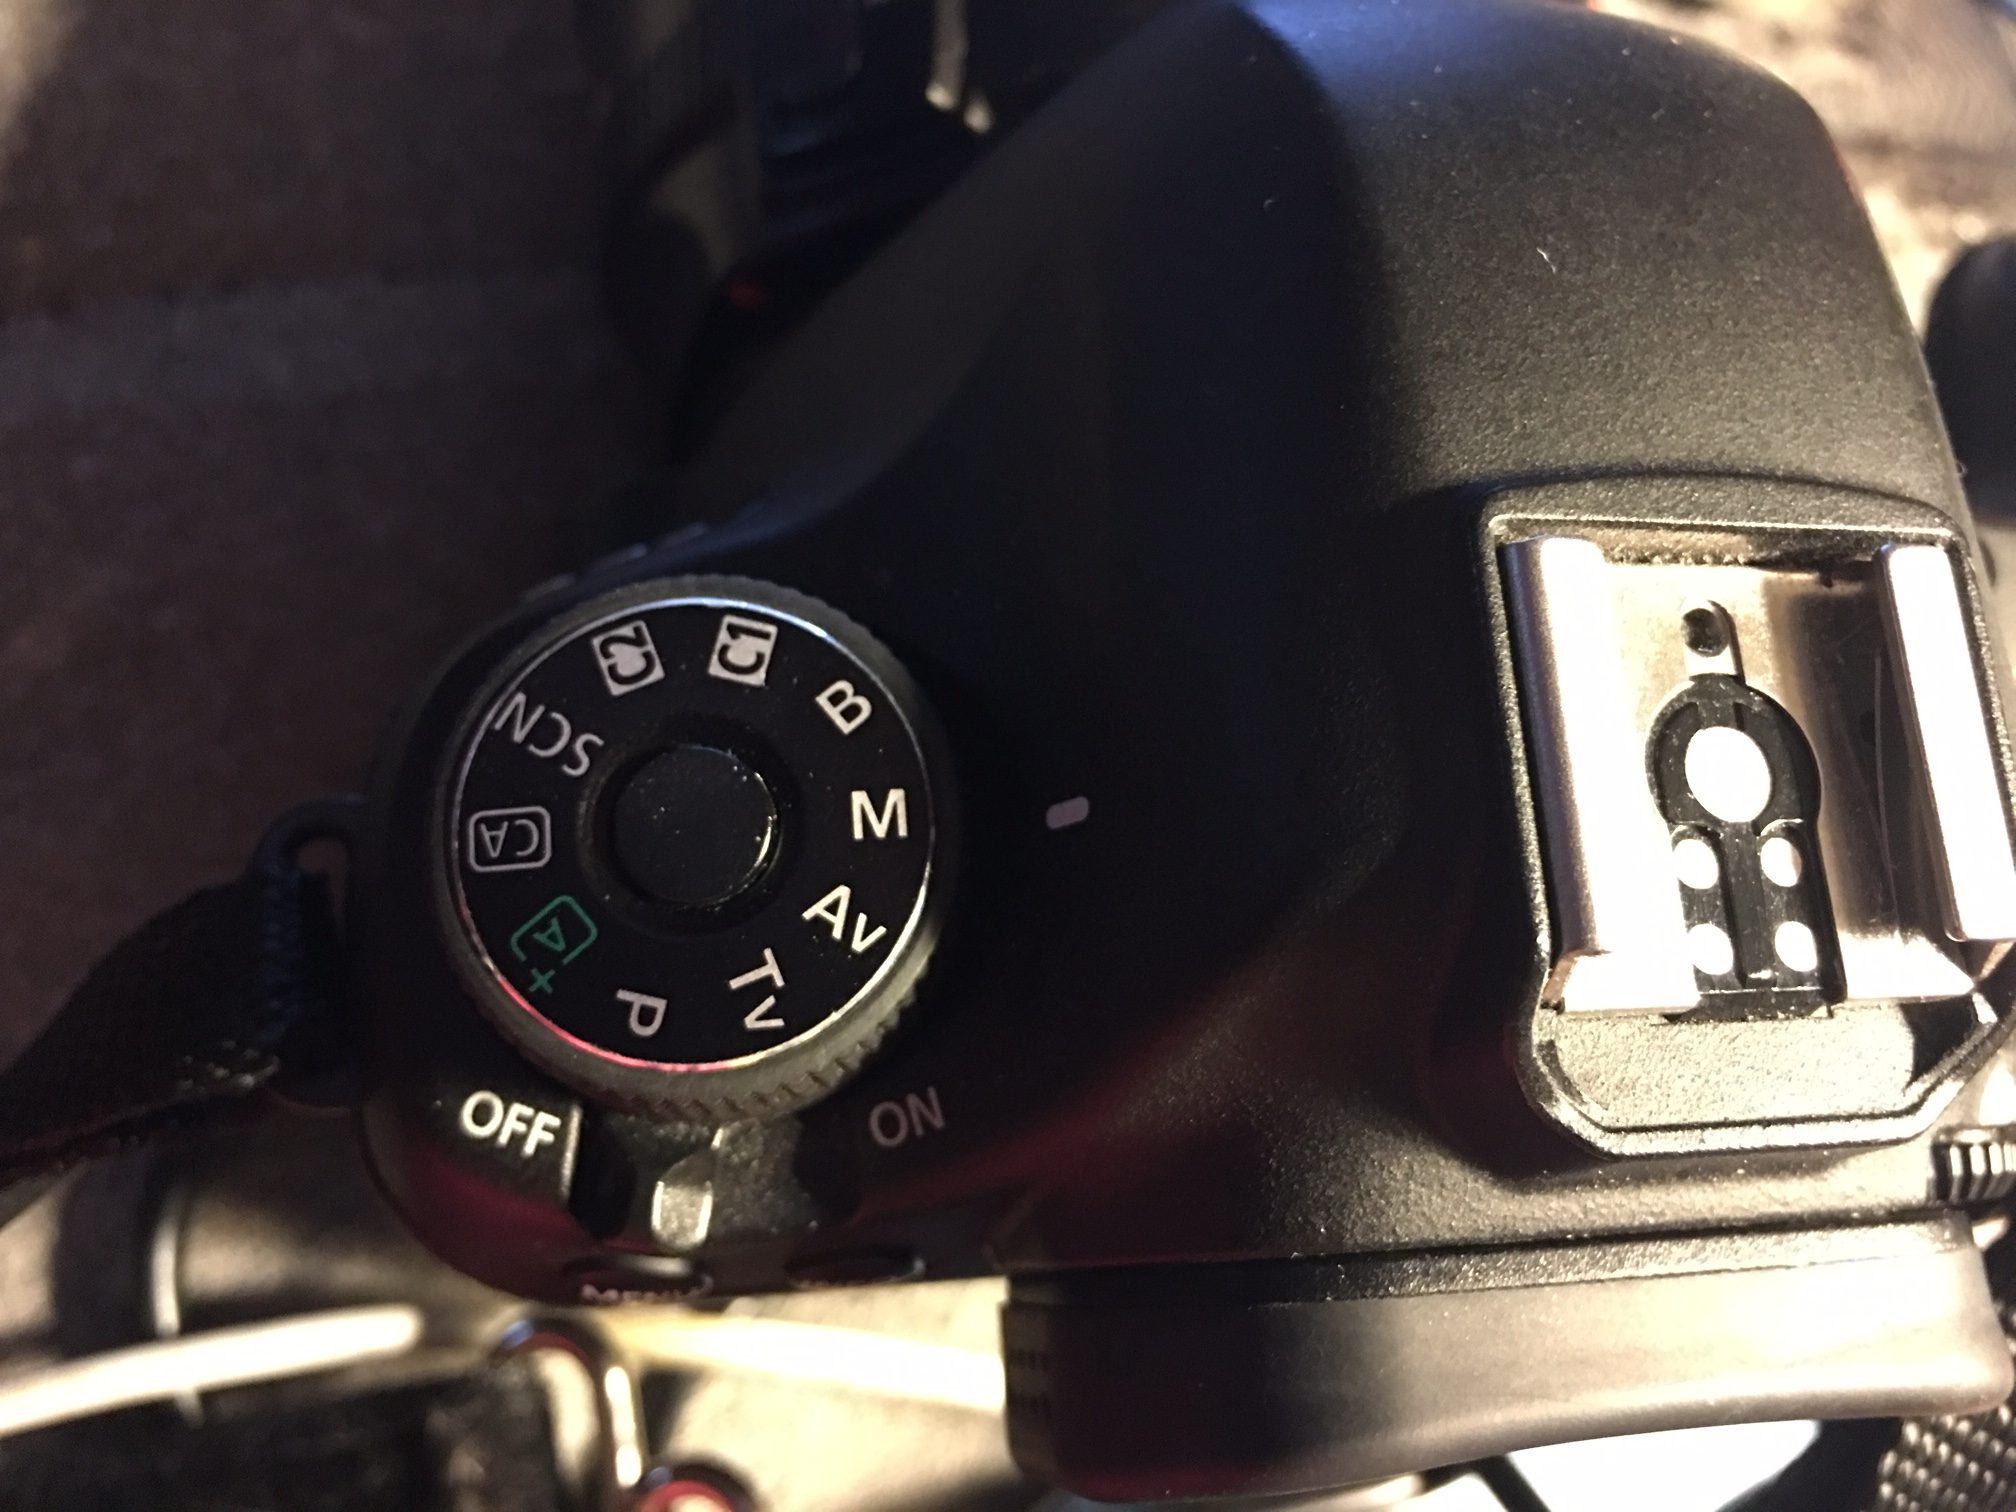
Step 1.. If you have a canon like me, you will turn that big dial around to “M” for manual control.
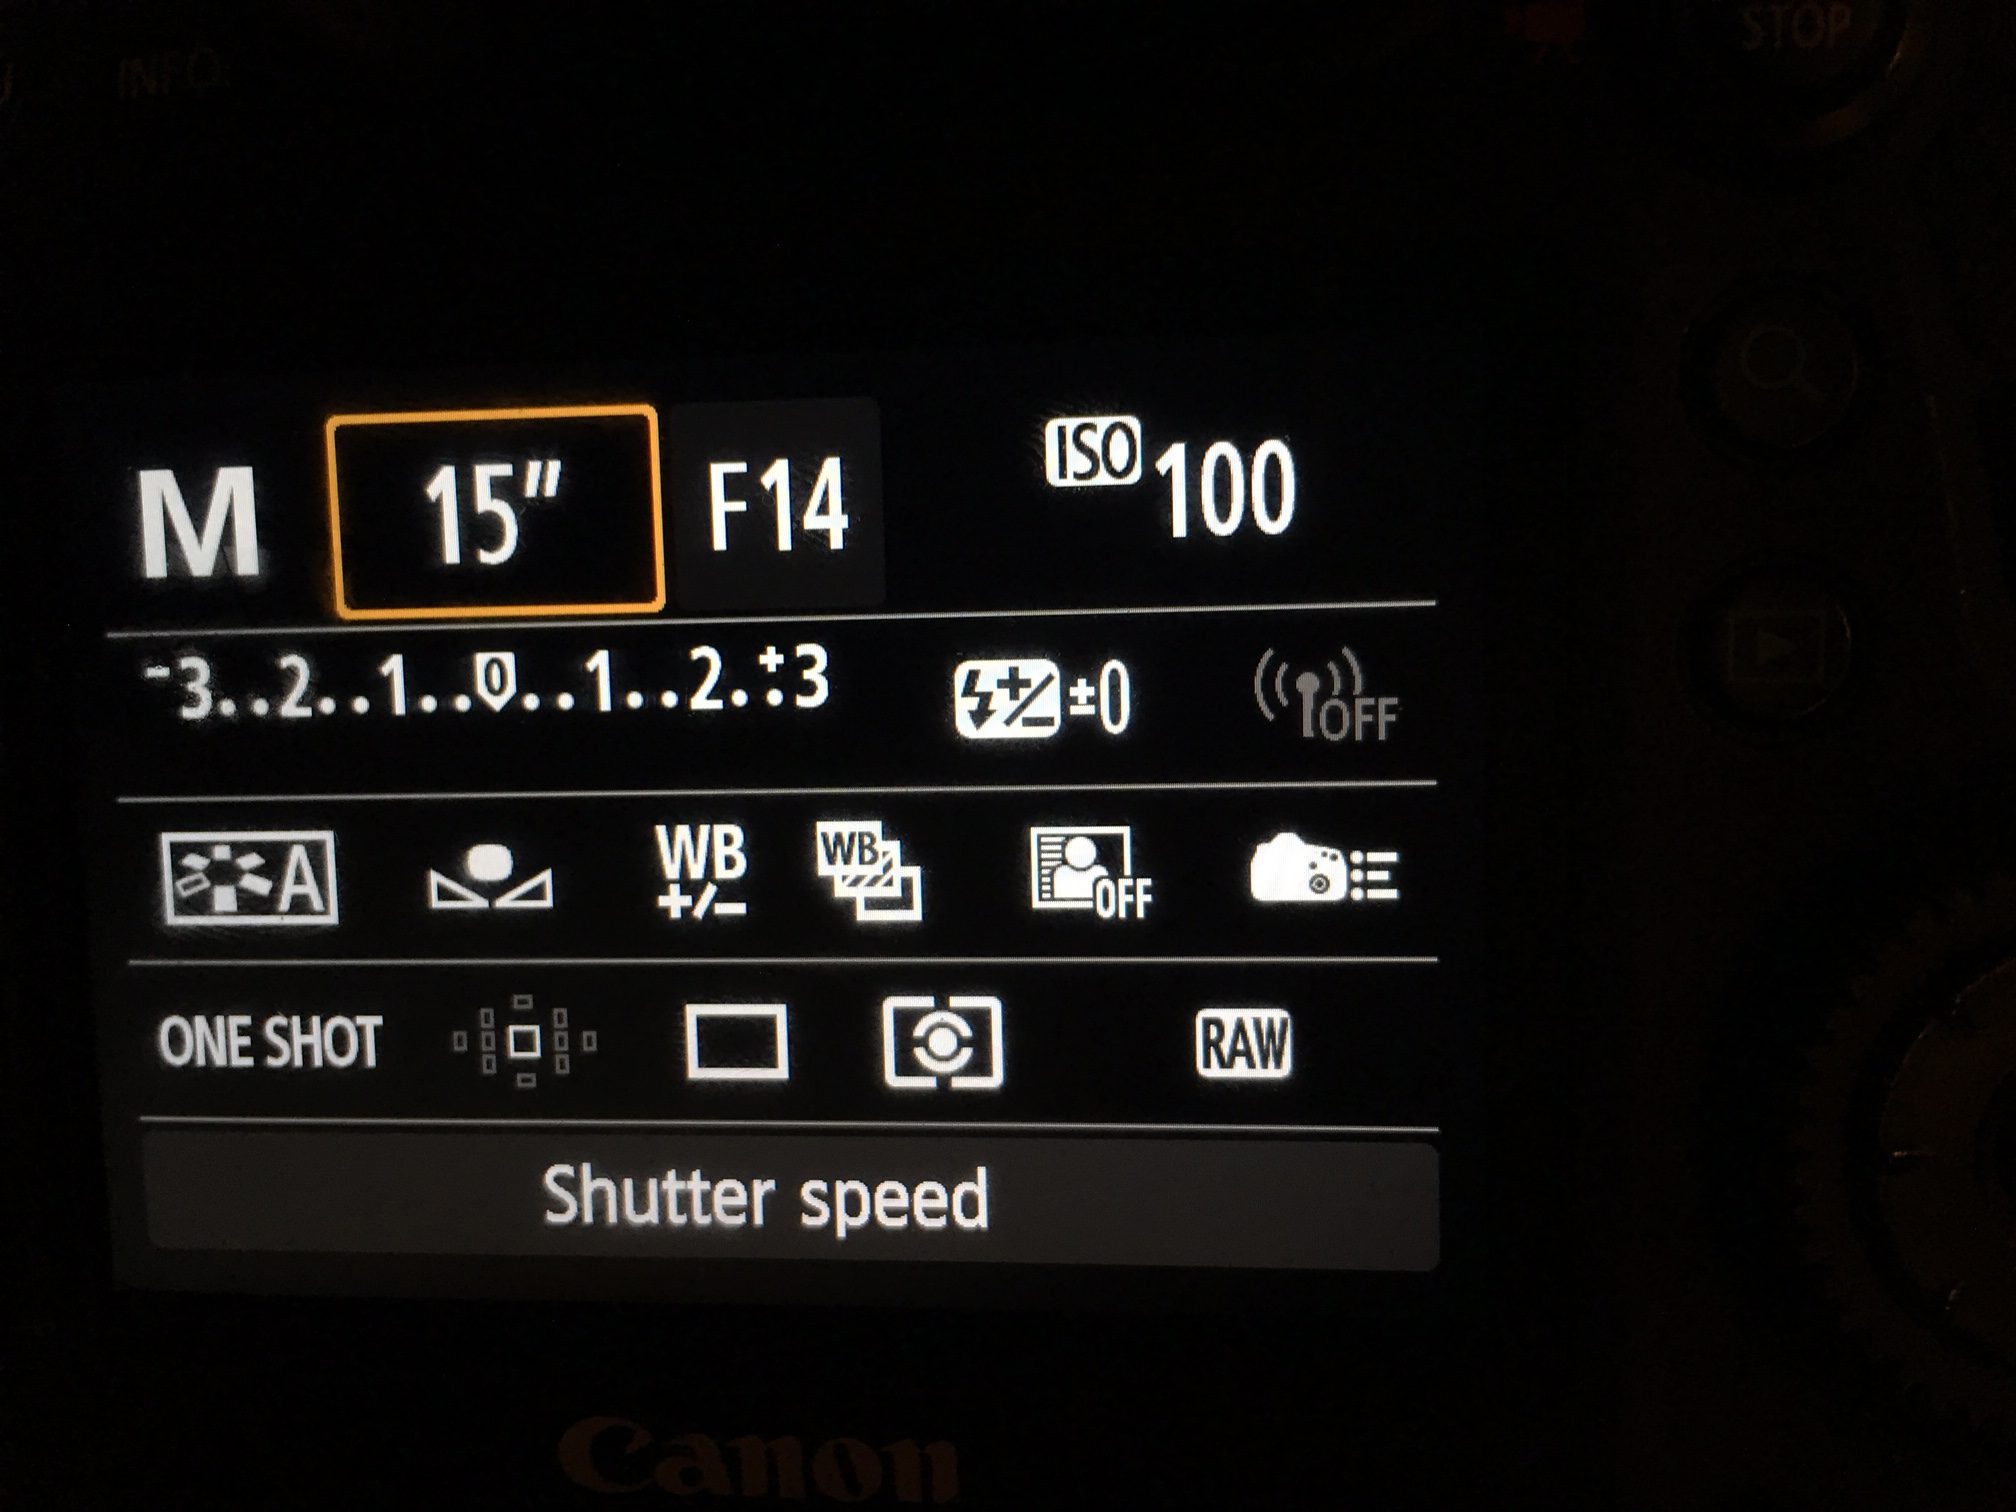
Step 2.
These settings.
Step 3.
Set up your tripod and make sure you have the full tree visible through the viewfinder with both the top and bottom of the tree in view. You can adjust and try different camera angles for some variety. This is a good time to move any distractions like stray toys that might be in the way.
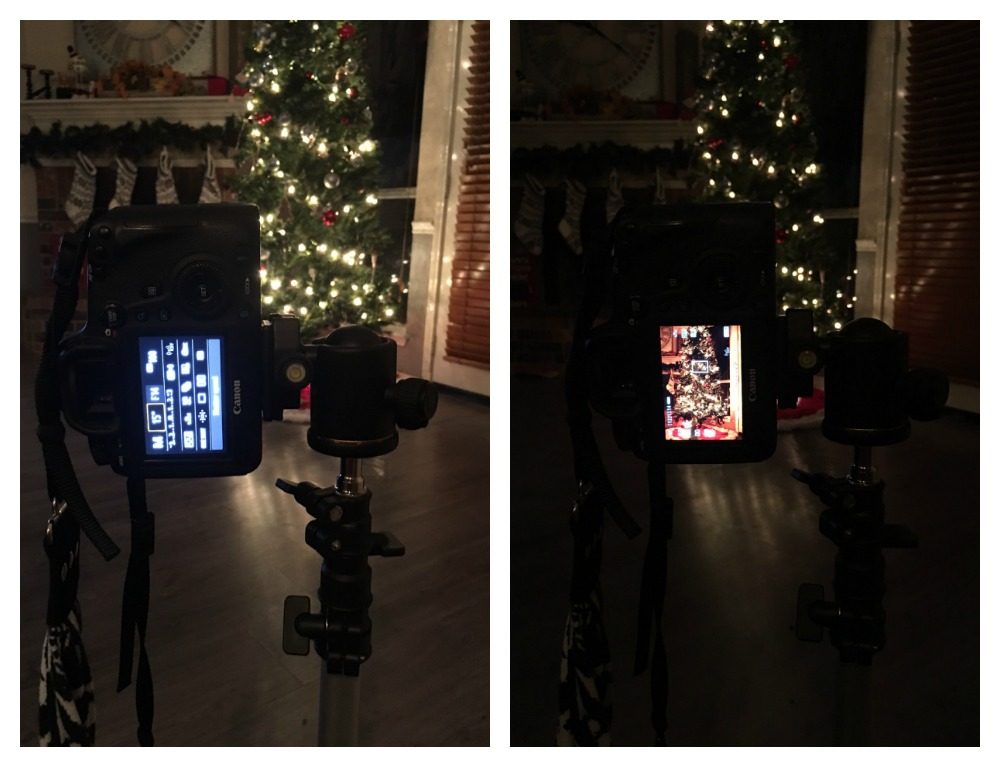
If you have one of those remote triggers, now would be a perfect time to use one! Very gently focus and hit the shutter button to snap a photo. Your camera will freeze for 15 seconds and it will record all the it sees in front of it, so if someone or something streaks across the room that will be visible in your photos as a big blur.
The magic of Photoshop
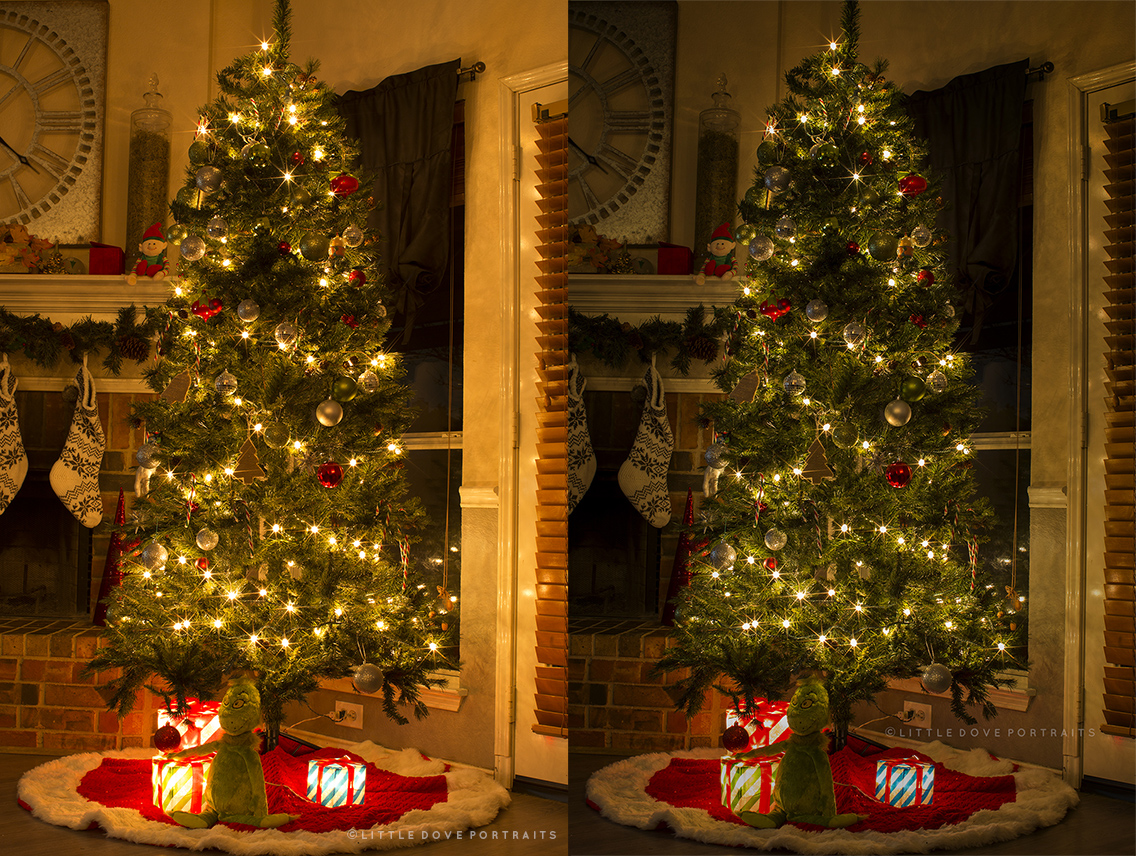
Tip – The higher the fstop (f14) for my particular lens gives you these pretty star shaped halos around all the lights!
Have fun and experiment with different settings! There is no right or wrong setting – only the ones that work best to achieve the look you want.
Learn more about my other photography work with Maternity, Newborn, Baby and Family Photographer in Dallas

December 3, 2017
Leave a Reply
Complete the form below and I'll be in touch within 1-2 days

Thank you so much for that helpful tutorial. Not only are you a talented Plano family photographer, you’re a great teacher as well.
What a great article to share with Plano families! Great tips from a great photographer!